

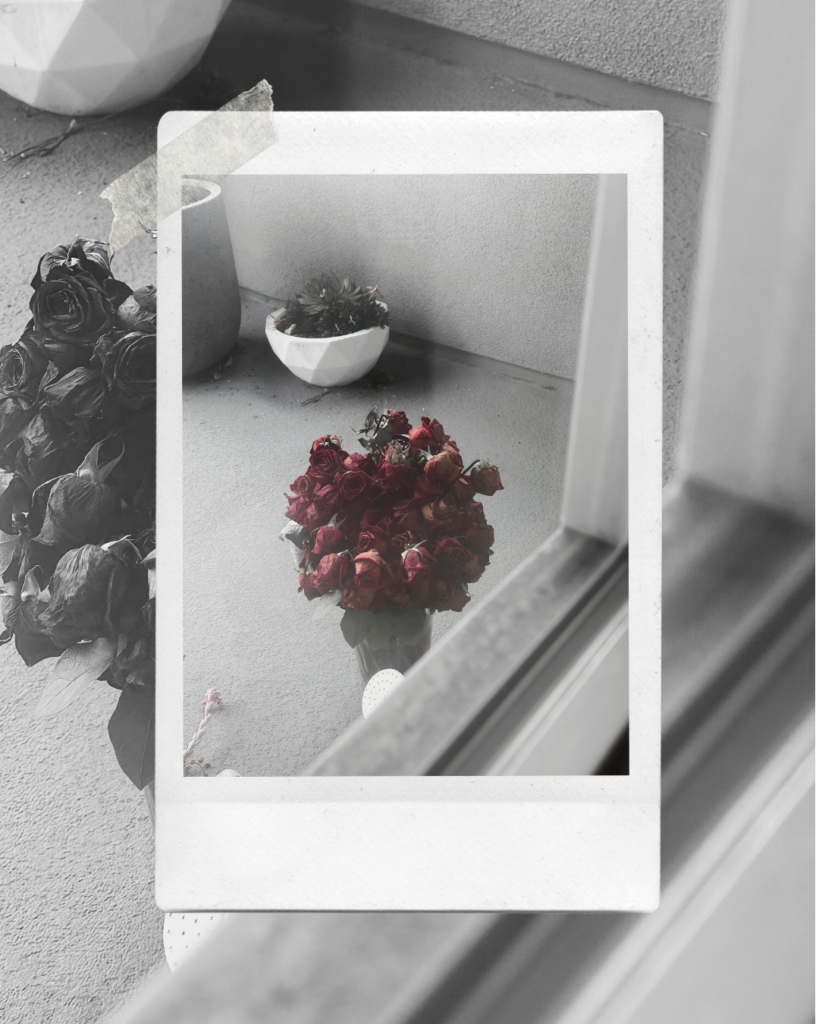
Drying roses at home is a simple way to preserve their beauty and create affordable and elegant decor that lasts. Whether you’ve received a special bouquet, picked up fresh blooms at the store or want to cherish flowers from your own garden, these beginner-friendly tips will help you to successfully dry out roses and craft something you love.
The Appeal of Drying Flowers
The appeal of drying flowers at home lies in their longevity, versatility, and the unique aesthetic they bring to floral arrangements. Dried flowers are popular choices for bouquets and craft projects for several reasons:
Longevity: Dried flowers last much longer than fresh flowers. They don’t wilt or decay quickly, allowing you to enjoy the bouquet for an extended period of time.
Low Maintenance: Dried flowers require minimal care. They don’t need water, and there’s no need to worry about changing the water in the vase. In fact, don’t even add water to the vase. This makes them a convenient and hassle-free decorating option.
Variety of Options: There is a wide variety of flowers that can be dried, offering a diverse range of colors, shapes, and textures. This allows for creative and unique arrangements that may not be achievable with fresh flowers.
Seasonal Availability: Dried flowers are not subject to seasonal limitations. You can create bouquets with blooms from different seasons, having a visually appealing arrangement year-round.
Memorability: Dried flowers can hold sentimental value. They can be preserved from a special occasion, such as an anniversary or “just because” moment, allowing the memories associated to be visible for a long time.
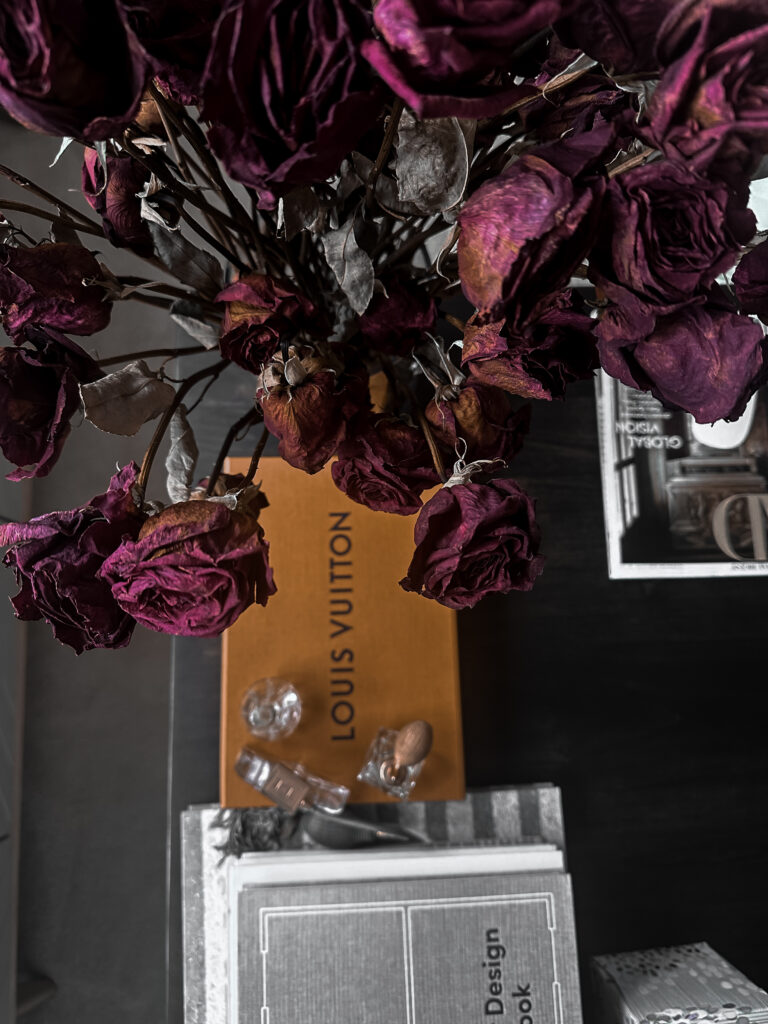
Decorative Element: Dried flowers can add a timeless or vintage aesthetic as home decor, making it easy to accessorize and achieve a specific look and feel.
Materials Needed
- Fresh roses
- String or twine
- Scissors
- Hangers or hooks
- Dark, dry space
Step-By-Step Rose Drying
Choose Your Roses
Select fresh roses with petals that are just starting to open. Don’t overthink this part. It’s ok if not every rose is perfect or if it has a blemish. The imperfect ones are just as much a part of the overall story.

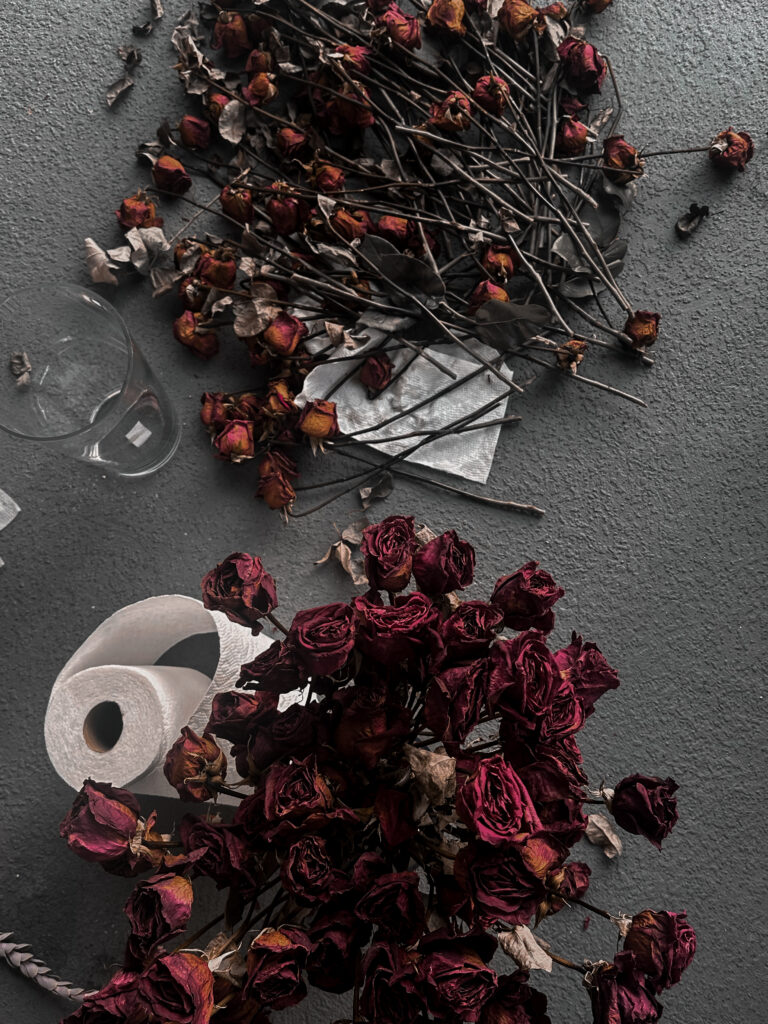
Remove Excess Leaves
Gently remove any excess leaves from the stems. This helps the roses dry more evenly and prevents mold or mildew. If you choose to leave some, do so sparingly so the putting together of the bouquet isn’t as messy.
Bundle Up
Group 5-10 roses together, securing them with a piece of string or twine. Ensure the string is tied tightly to keep the roses together during the drying process.
Hang the Roses Upside Down
Find a dark, dry space where you can hang the rose bundles upside down. This could be a closet, a dry basement, or any area away from direct sunlight. Use hangers or hooks to suspend the bundles. Ensure the closet doors stay closed at all times while they are drying.
Be Patient
Allow the roses to hang upside down for about two weeks. This slow drying process helps the petals retain their color and shape. Be patient and resist the urge to check on them too frequently.

Check for Dryness
After two weeks, gently touch the petals to check for dryness. If they feel crisp and dry, your roses are ready. If they are still slightly soft, give them more time. You will be able to tell the difference right away. There’s nothing wrong with letting them hang another week if needed.
Unwrap and Style
Carefully remove the string or twine from the dried rose bundles. Your roses are now ready to be used in various DIY projects. Create beautiful arrangements, framed art, or even mix with essential oils to enjoy their lasting beauty.

I hope this quick and simple DIY rose drying guide gets you started on the right foot! Remember patience is key when drying roses at home. Don’t let the imperfections in the bouquet stop you from putting together a unique arrangement that connects you to something of personal value. If done with care, the finished look can be enjoyed for a long time!

love this, total randomness on how to create meaningful beauty.
Yes! It’s the little things we don’t think about that can make a space feel special and elevated.